
Modern smartphones pack incredible camera sensors capable of capturing fine paper textures, ink variations, and subtle margin notes. But most people make one critical mistake: they lean directly over the card under a bright ceiling kitchen light.
The result is always the same: a dark silhouette of your head and phone cast across Grandma’s ingredients, blown-out glare on glossy cardstock, and curved edges from holding the lens too close. Here is the professional archival photography setup you can build in 60 seconds on your kitchen table.
1. The Lighting Setup: Indirect Daylight or 45-Degree Cross-Lighting
The secret to flat-document photography is directional, diffused light:
- Natural Window Daylight (Best & Easiest): Set up your table 3 to 5 feet from a window during the daytime. Make sure direct sun rays are not hitting the table (diffused or overcast light is ideal). Turn off your kitchen ceiling lights so you do not mix yellow indoor bulbs with cool natural daylight.
- The Two-Lamp 45° Setup (For Evening): If photographing at night, place two small household lamps on opposite sides of the card, roughly two feet away and angled downward at 45 degrees. The two beams cancel each other’s shadows and reflect glare away from your camera lens.
- Never use camera flash: Smartphone LED flashes create a blinding hot spot in the center of the card, wash out delicate pencil writing, and create harsh shadows along card edges.
2. The Secret Trick: Use 2× Zoom to Eliminate Distortion
The default camera mode on your iPhone or Android phone uses a wide-angle lens (roughly 24mm equivalent). Wide-angle lenses create barrel distortion: straight card edges bow outward like a fishbowl, and you have to hover 6 inches away to fill the frame, which inevitably blocks your light.
- Step back 2 feet: Stand back from the table at a comfortable distance.
- Tap 2× zoom: Switching to 2× uses the phone's telephoto sensor (or an optical crop). This flattens optical perspective, keeps the card rectangular, and keeps your body completely out of the light path.
- Enable grid lines: Go into your phone camera settings and enable Grid. Align the card edges with the grid lines to ensure your phone is held completely parallel to the table.
3. Capture Front and Back with Consistent Framing
If a recipe continues on the back, flip the card in the exact same spot and snap the second side immediately. Keeping consistent lighting and framing between front and back ensures both sides match perfectly in your family archive.
From Kitchen-Table Photos to an Heirloom Keepsake
Once you capture clean photos of your 50 favorite cards, you have already done the hardest part. You do not need to spend weeks typing them into software or worrying about shipping irreplaceable originals in the mail.
Recipe Restore turns your smartphone photos into a publication-grade PDF cookbook. We transcribe the cursive, standardize vintage measurements, and design a custom book pairing the authentic handwritten card with clean modern typography on the facing page.
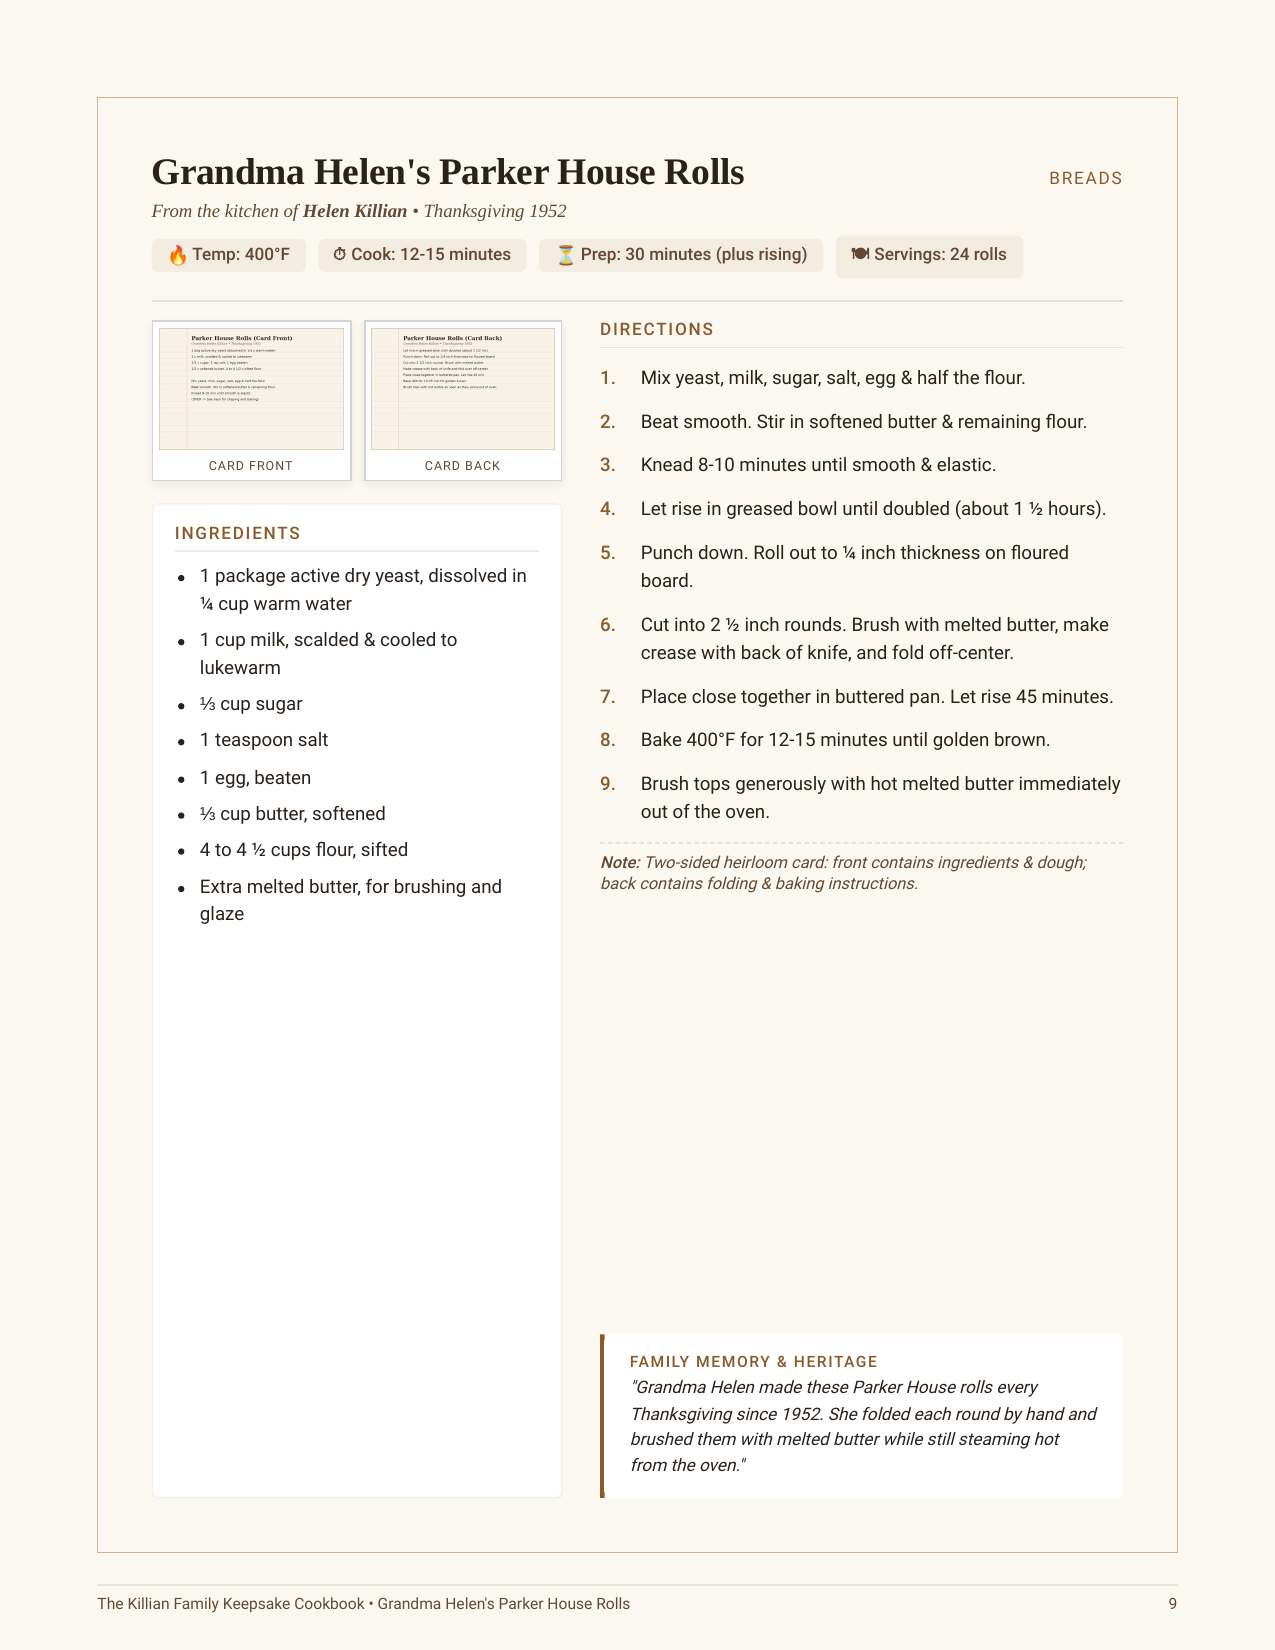
Want to see how an authentic collection looks after transcription? Explore the Killian Family 50-recipe sample reader →
Frequently Asked Questions
Why should I use 2× zoom instead of 1× when photographing recipe cards?
Should I turn on my phone flash for recipe card photos?
Can I photograph recipe cards while they are inside plastic sleeves?
How does Recipe Restore process my smartphone recipe card photos?
Ready to turn your phone photos into a family cookbook?
Snap photos of up to 50 family recipe cards right at your kitchen table. We transcribe the handwriting, balance measurements, and deliver a publication-grade PDF cookbook for $79 flat.
Start your family cookbook ($79) →